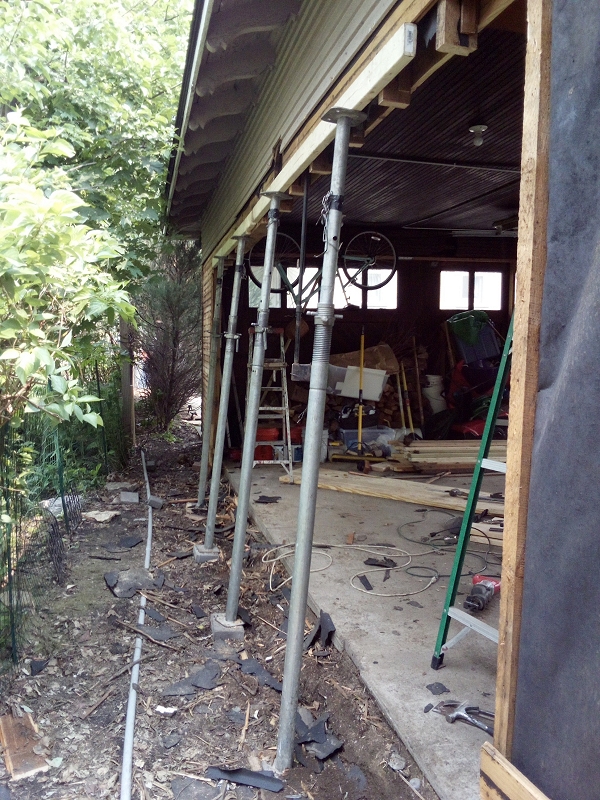
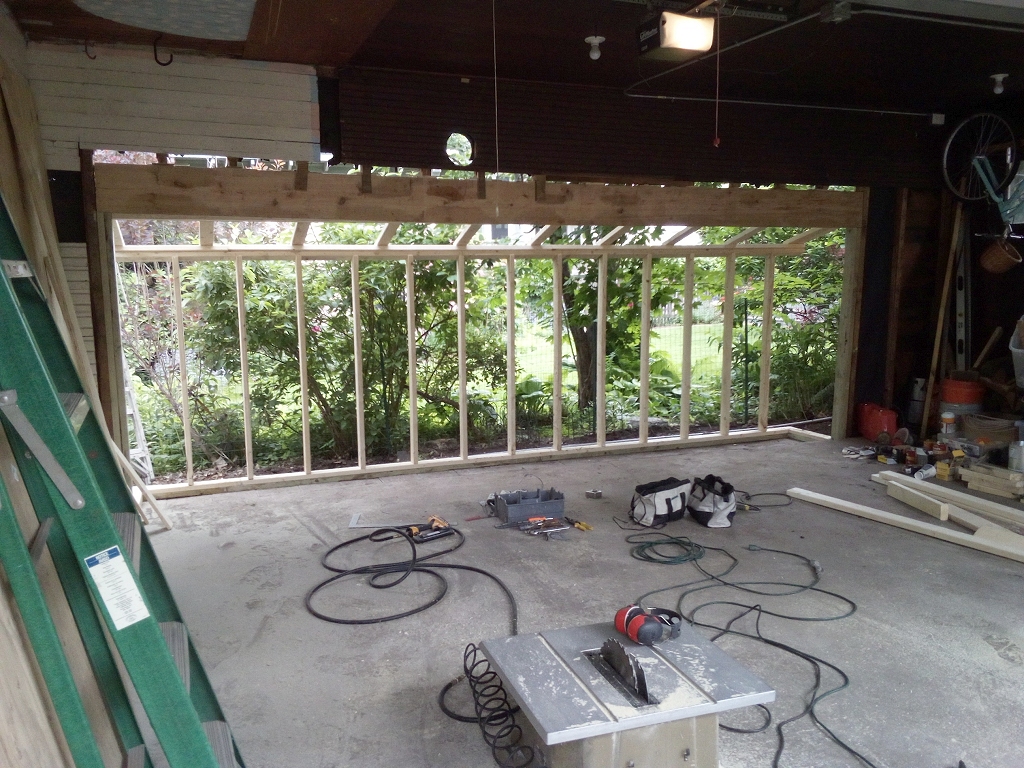
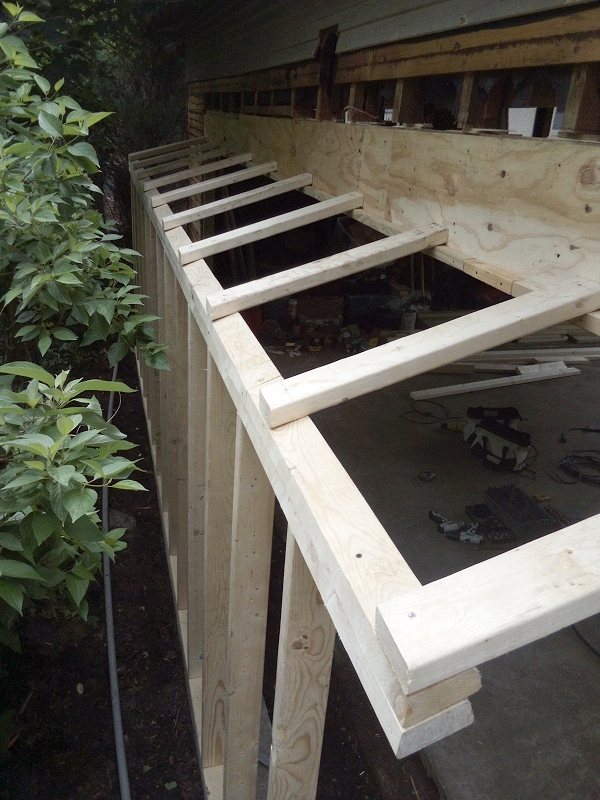
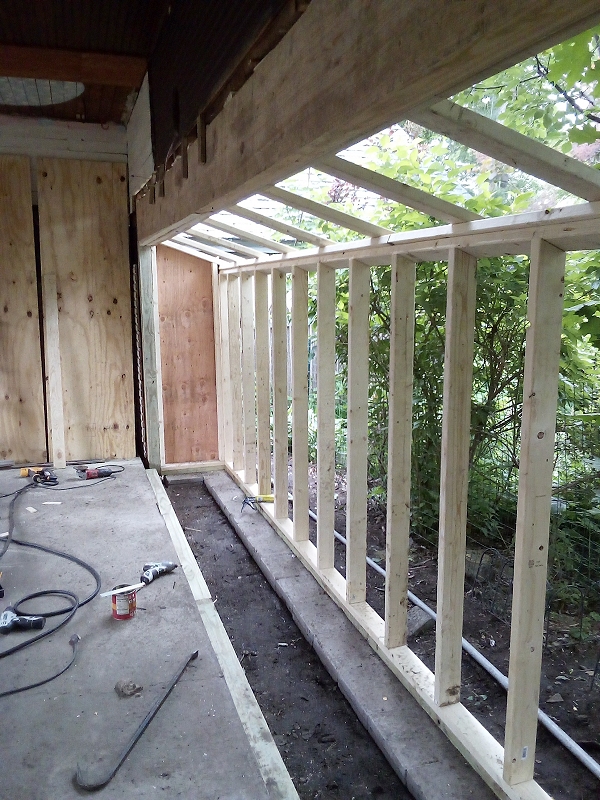
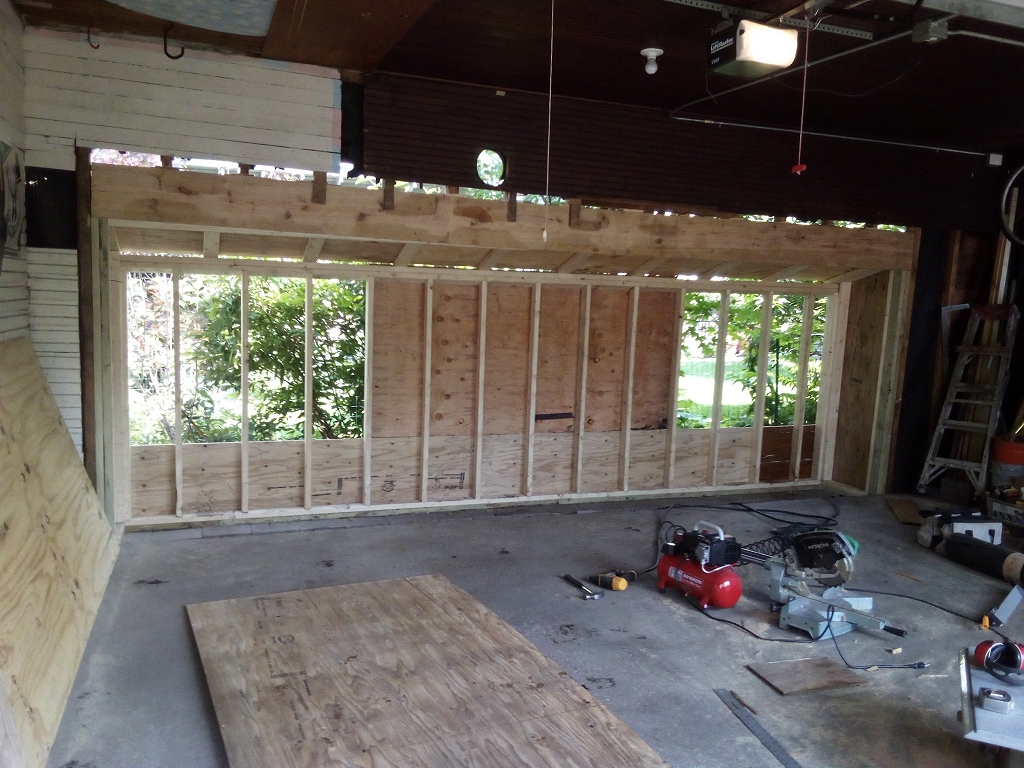
<-- Restoration home "garage" = "carriage house" The wall of the garage had been pushed out due to frequent bumps during car parking, as the garage space is tight for parking. I'm building a "bump-out" to give them an extra two feet of length for parking.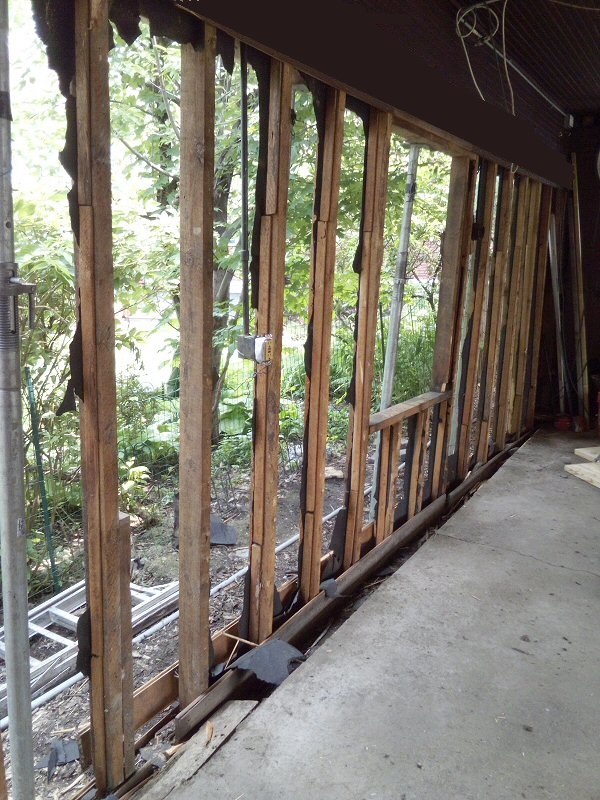
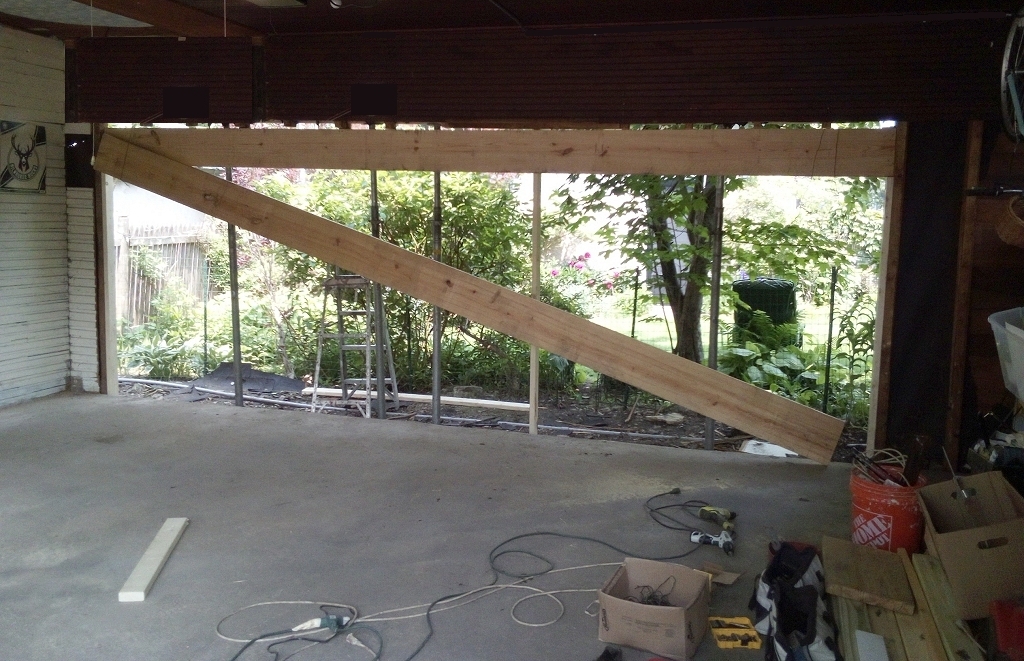
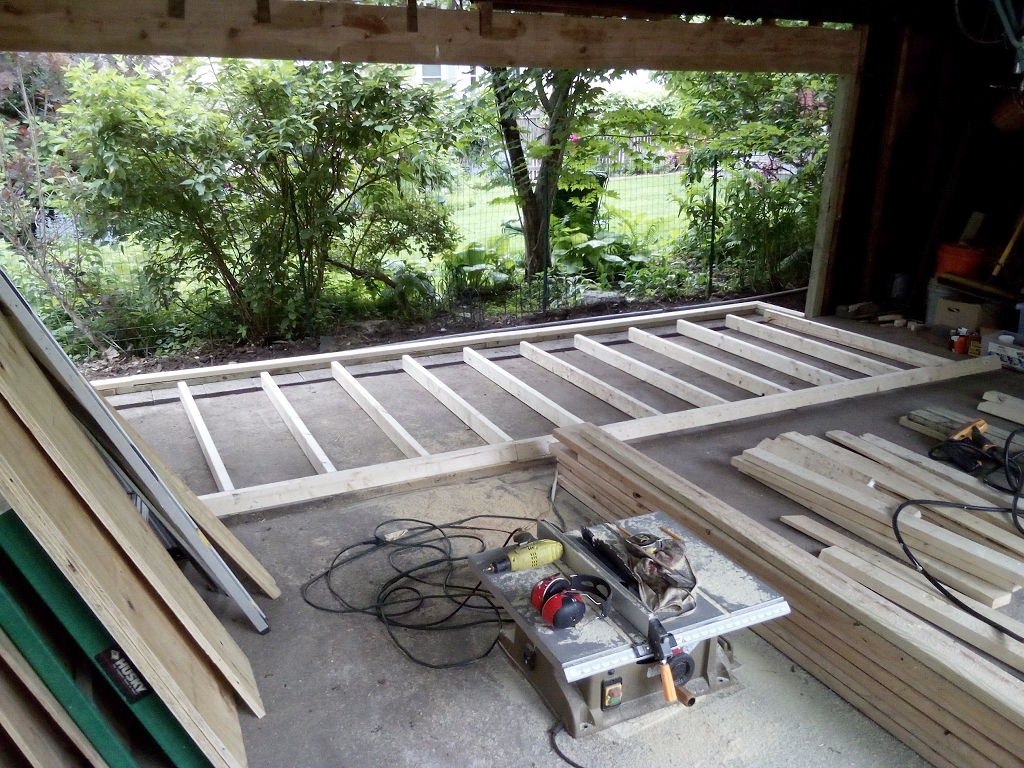
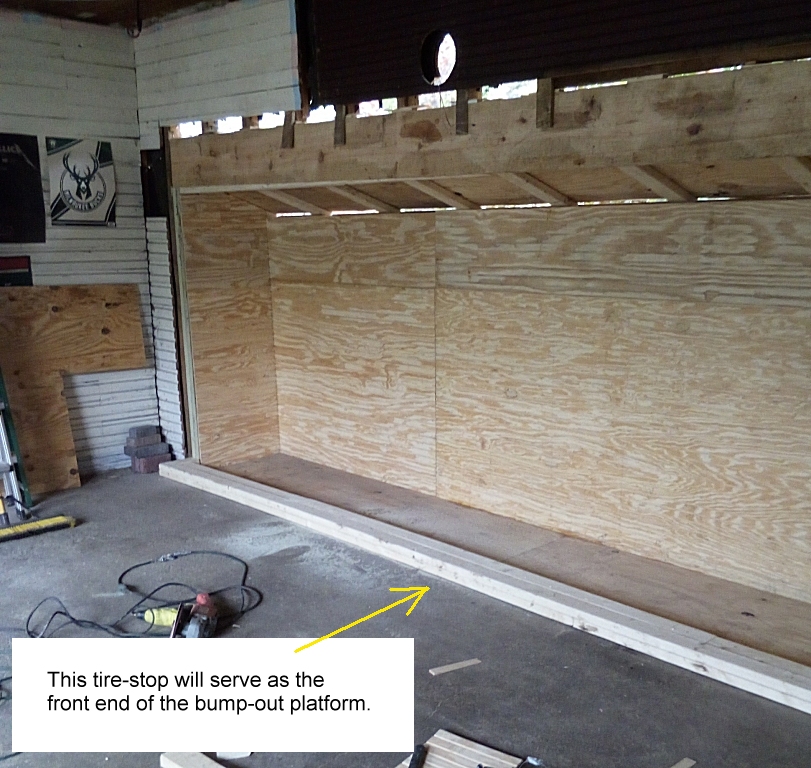
Rather than fetch 2-plus tons of gravel and cement and hauling it up their steep driveway, I'm giving them a wood floor in the bump-out.

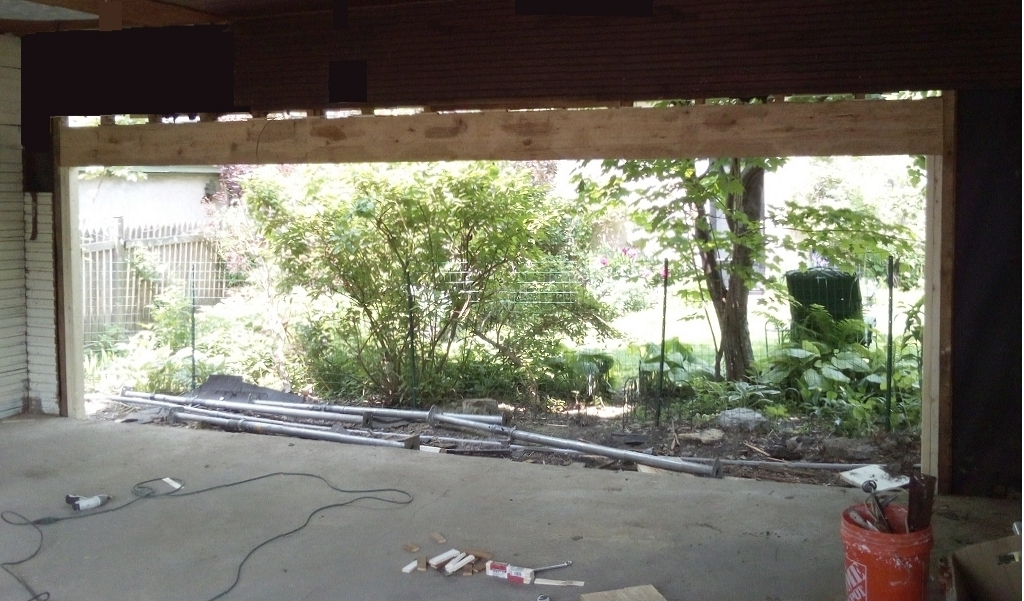
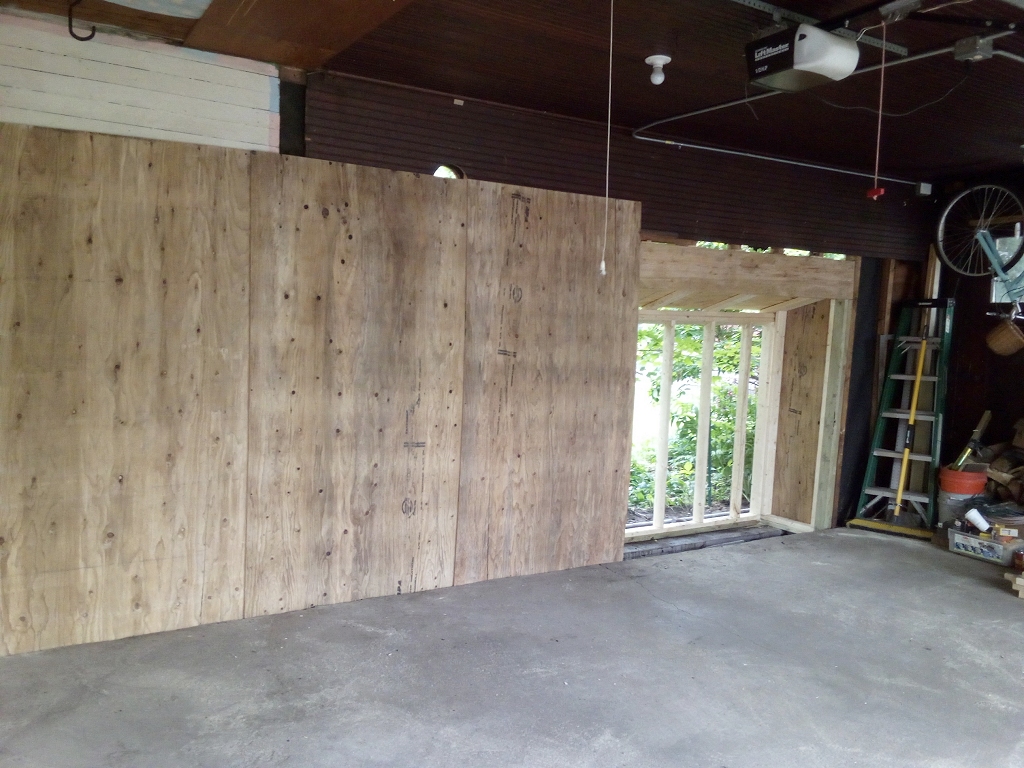
Covering the opening with plywood each evening to keep prowlers out of the garage. The clients have full use of the garage for both cars each evening:

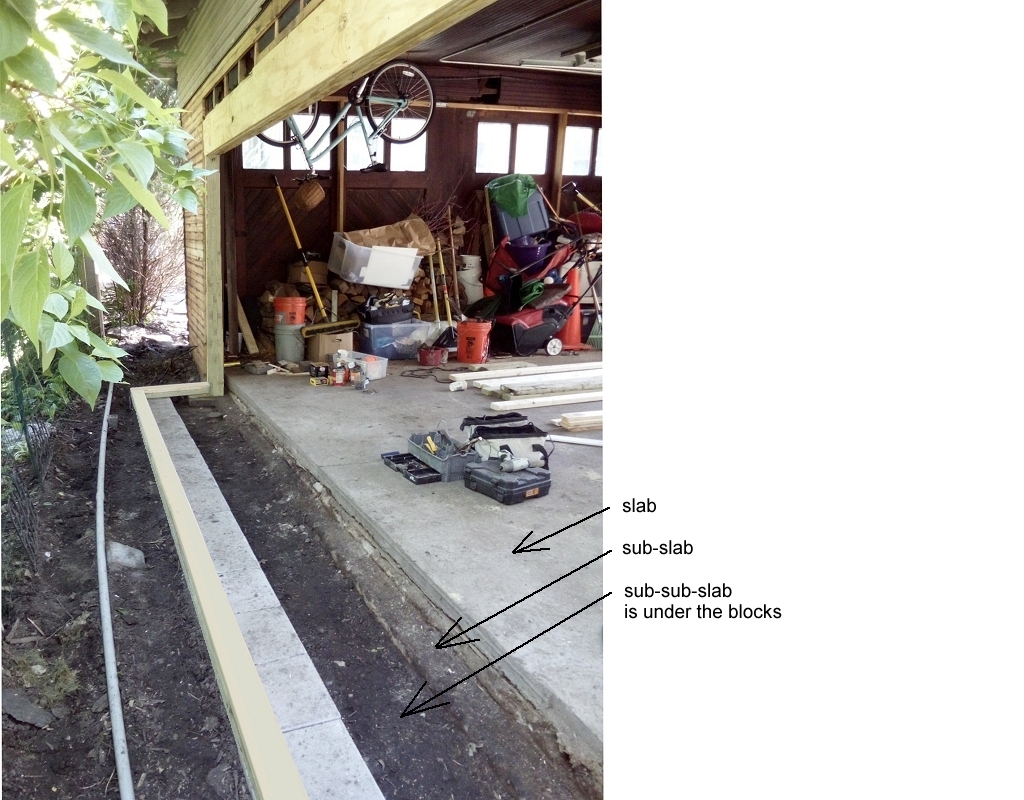
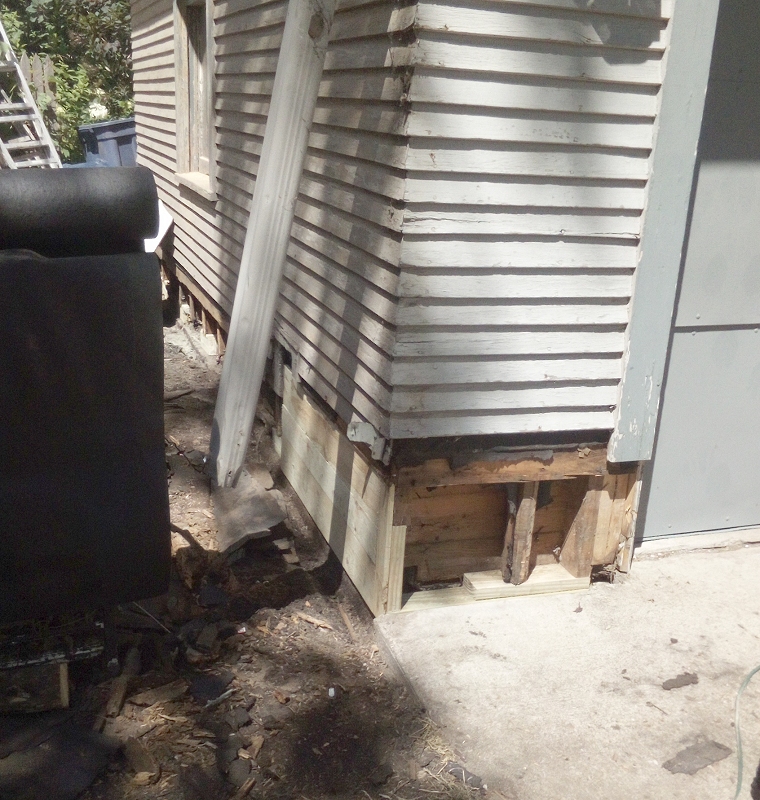
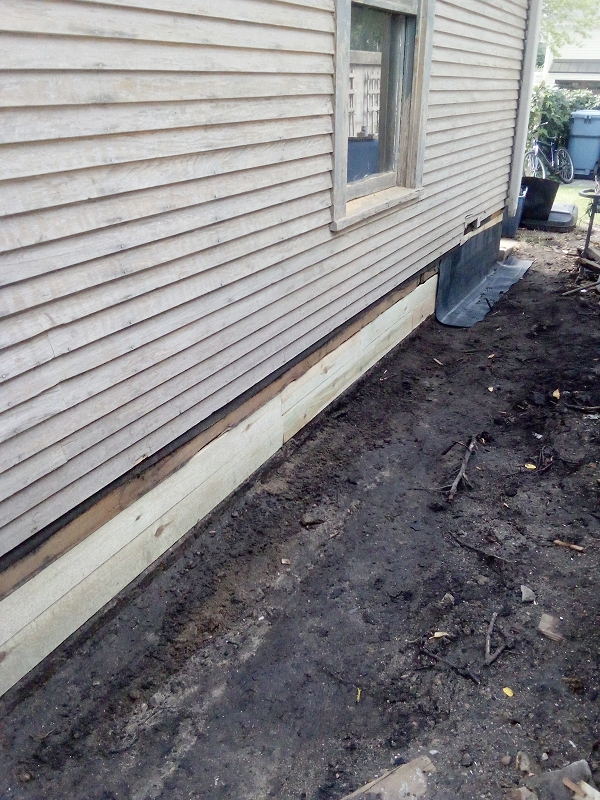
I'm restoring the entire garage. Wall bases have been buried in dirt for decades. In some areas, the bottom plates and bottom couple of inches of studs have completely disintegrated. On this corner, I've simply placed cement blocks onto the existing sub-slab onto which I've placed a treated bottom plate. The ends of the studs have been sawed off. Rubber membrane will go over the sheathing and extend into the ground, keeping the bottom plate "high and dry":
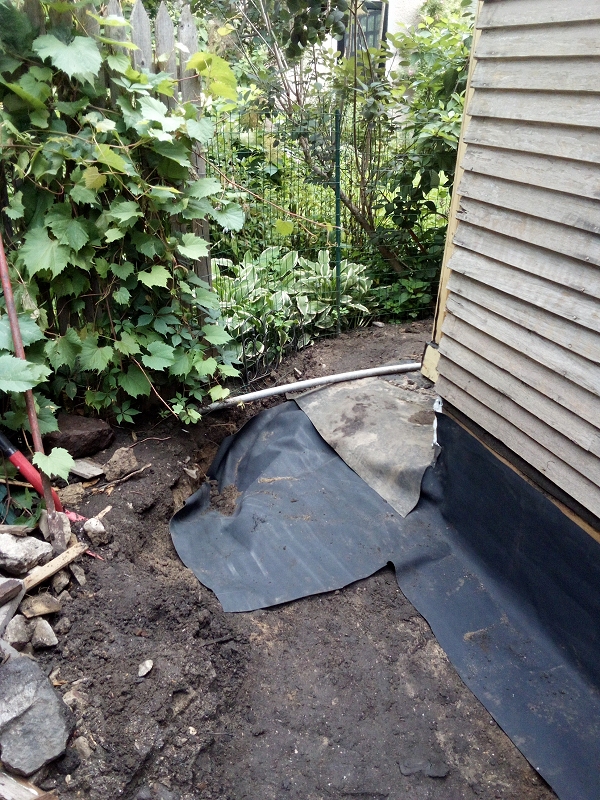
Digging the 24" deep trench for the rubber membrane. Space is tight for working. Moving dirt with the little two-wheeled wood cart, which I made just for the task. Not shown here: I replaced my temporary 1x4 bottom board with a treated 1x4 and installed a six-inch wide treated board along the entire base of the bump-out, right over the siding and the 1x4, sealed at the top with Vulkem:
Wrapping the rubber membrane around the bump-out. Treated 1x6 not yet installed:
Opening up another wall-base for rebuilding and water-proofing:
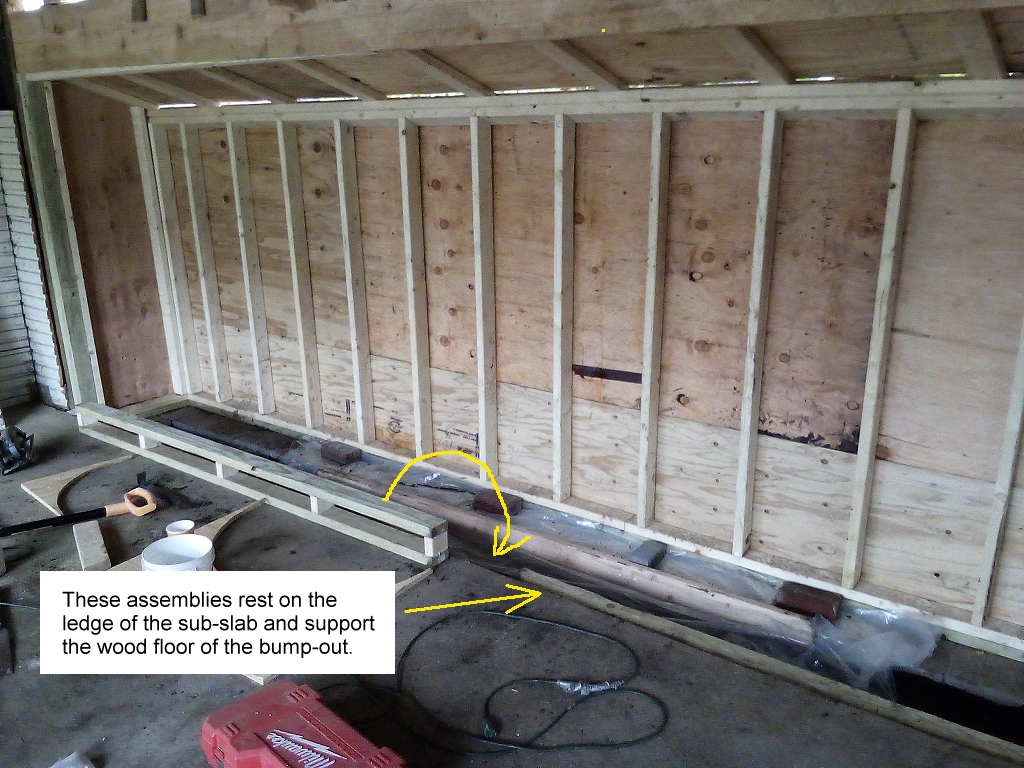
The 3/4" old-growth fir t&g sheathing makes for such a rigid wall that placing treated boards under alternating studs is more than ample support. Again, the treated plates rest on the sub-slab:
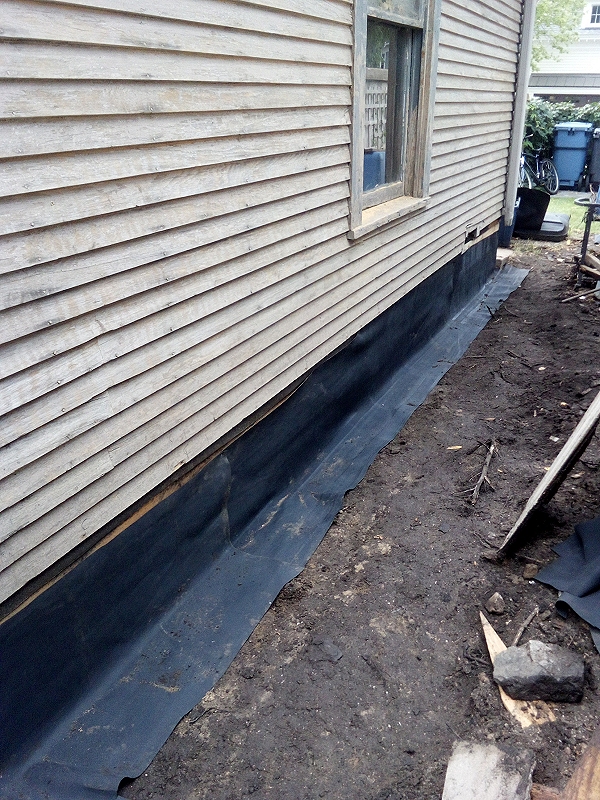
Treated sheathing. Rubber membrane extending below ground-line and outward follows that:
Rubber membrane over the treated sheathing:
Treated bottom board:
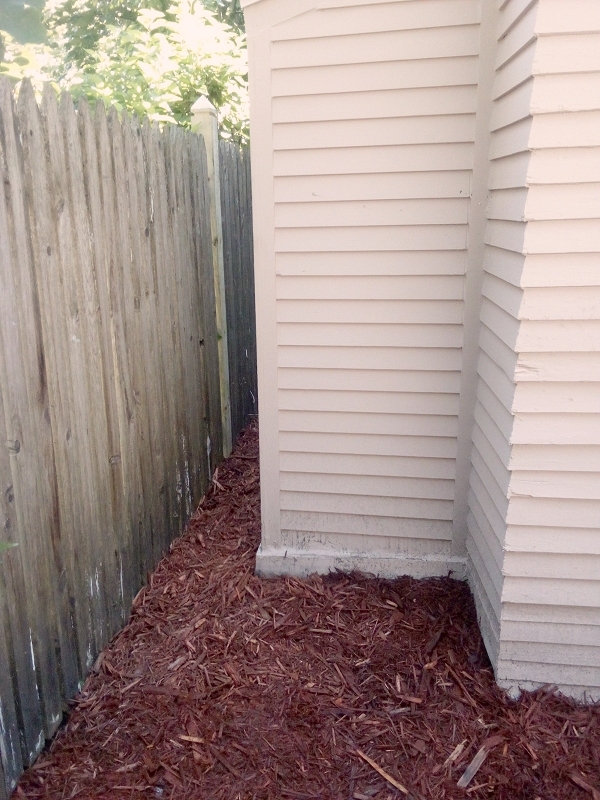
Cedar siding. The entire garage is now "high and dry". Ground cover goes over the rubber membrane:
I keep forgetting to bring my wheel-barrel (or my two-wheeler handtruck), so I'm hauling dirt in large blue tubs on top of this little dirt cart:
Put down a lot of mulch after painting was complete:
Made a downspout extension:
I removed the baseboards which roofers had installed along the base of the dormers, then re-installed the siding. This is the third set of dormers to which I've made that fix for clients. This is the "before" picture:
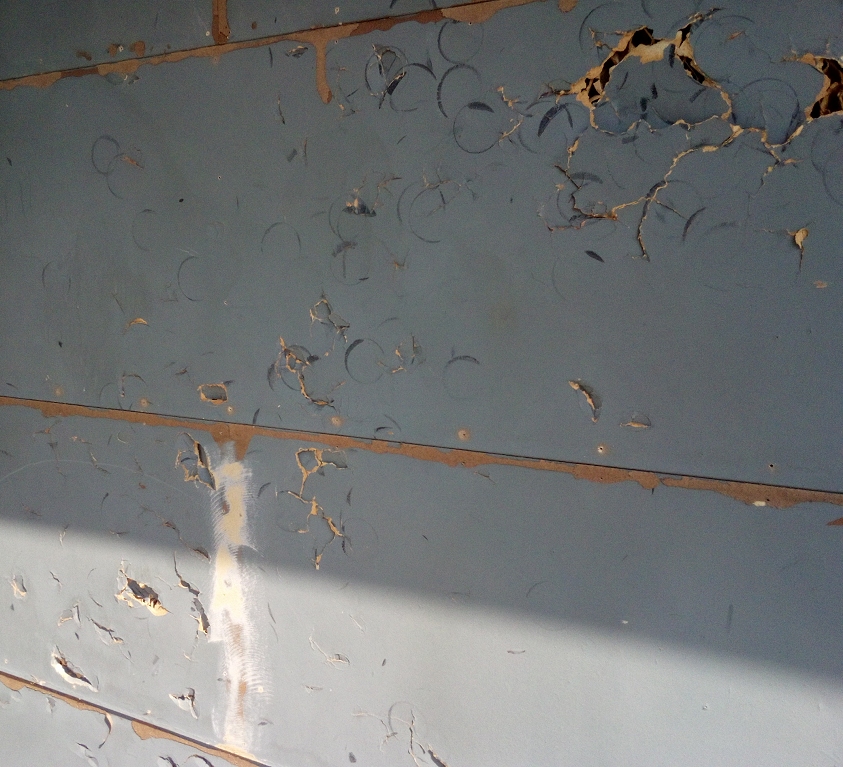
Doing a lot of stripping on this garage, plus some new siding:
Stipped the old carriage doors:
Walk-in door after stripping and painting:
I lessened the weight of the garage door by 91 lb by removing the panels someone had installed to cover up the hockey puck damage. These two pictures give an overview of the damage to the original panels:
Power-sanded to remove protrusions:
A good demonstration of the effectiveness of my patching compound -- a combination of Durabond and Dynaflex 230. A small section of new panel material got installed in the area where the large holes were:
Here is the garage after doing a lot of carpentry, stripping and coating:
Another favorite jobsite for Bucky:
Bucky spends his days at my client's next-door-neighbor's house and yard. They take him for walks and snuggle with him in their house. The garage I'm restoring is in the background; and I've just re-installed the neighbor's fence. Bucky comes over to check in with me once in a while -- using his secret passageway:
Bucky is home after another very active day:
<-- back to Restoration home